

前言
平时不少同学都有写博客的习惯,这里介绍一种通过Github Issue写博客并自动部署hexo到Github Page的工作流。本文主要介绍
- 什么是Github action以及它的基本用法
- 如何开发并发布一个Github action
- 如何打造Github issue写博客并自动部署hexo到Github Page的工作流
什么是Github action
GitHub action 是一个持续集成和持续交付平台,可以自动化构建、测试和部署。例如可以创建工作流来构建和测试仓库的每个pr,或将合并pr部署到生产环境
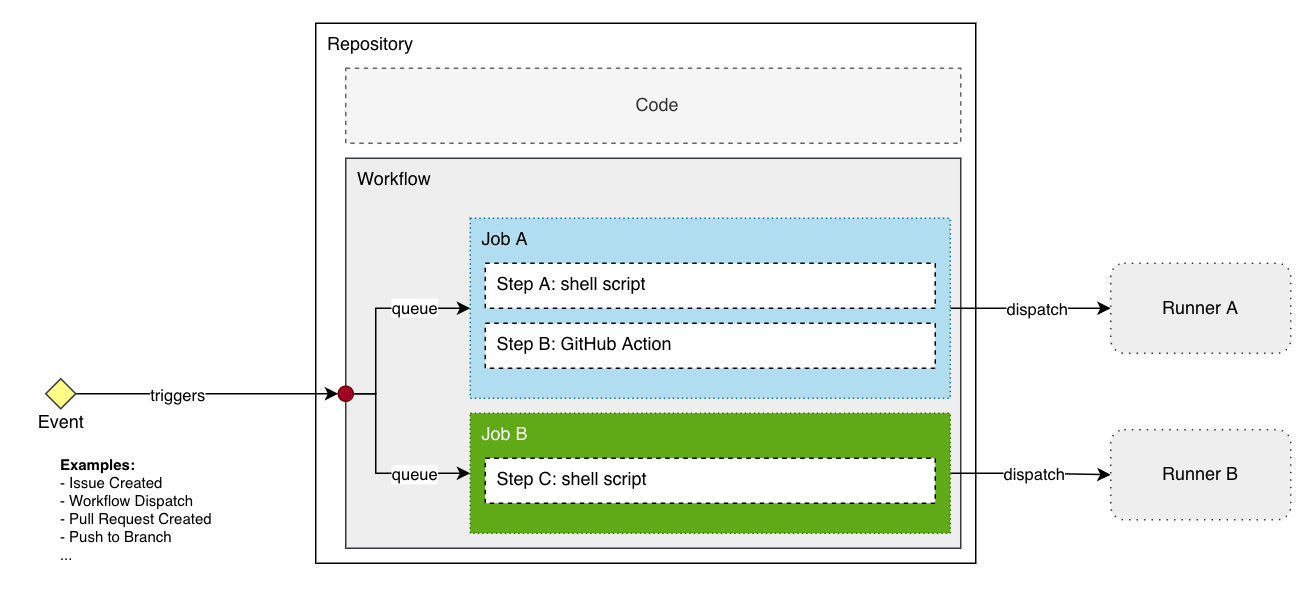
这张图从左到右分别是:
- Event: 触发action的事件。代表仓库中的某个触发工作流执行的行为
- Workflow: 事件发生时运行的工作流
- Job: 一组按顺序运行以完成任务的Step。每个Job都在自己的Runner上运行
- Step: 一个Step可以是一个shell脚本或一个action。它将在为该Step所属的Job分配的runner上运行
- Runner: Runner是运行作业中的步骤的虚拟机
更多详情可见github doc
我们在日常的CI/CD过程中,很多流程都是重复并且类似的和完全可以共享,这些能共享的能力就是一个个action。多个action集成在一起就组成了一个工作流。Github官方也提供了一个官方Github action市场来让开发者们去发布和可以使用别人的action

基本上日常的使用场景都能成action市场上找到。本文我们后续打造的工作流我们也只需要开发一个从指定issue链接生成hexo markdown文件的action即可,其它流程都使用市场上现成的action
使用Github action也是非常简单。在工作流中使用uses去使用action,并通过with传入相关action参数即可。例如我们使用下文开发的指定issue链接生成hexo markdown文件的action。使用效果如下。传递几个参数
- issue_url: 用于生成hexo文章的issue链接
- output: 输出的hexo文章路径
- replace: 是否取代原先目录文件的内容
1
2
3
4
5
6
7
8
9
10
11
# 忽略多余配置
jobs:
build:
runs-on: ubuntu-latest
steps:
- name: issue生成 hexo文章
uses: flytam/github-issue-to-hexo@v1.0.3
with:
issue_url: ${{ env.ISSUE_URL }}
output: 'source/_posts'
replace: true
开发并发布一个Github action
这里我们使用Node.Js去开发指定issue链接生成hexo markdown文件的action。一个action本质上就是一个脚本读取工作流中的一些参数然后执行相关操作再输出结果
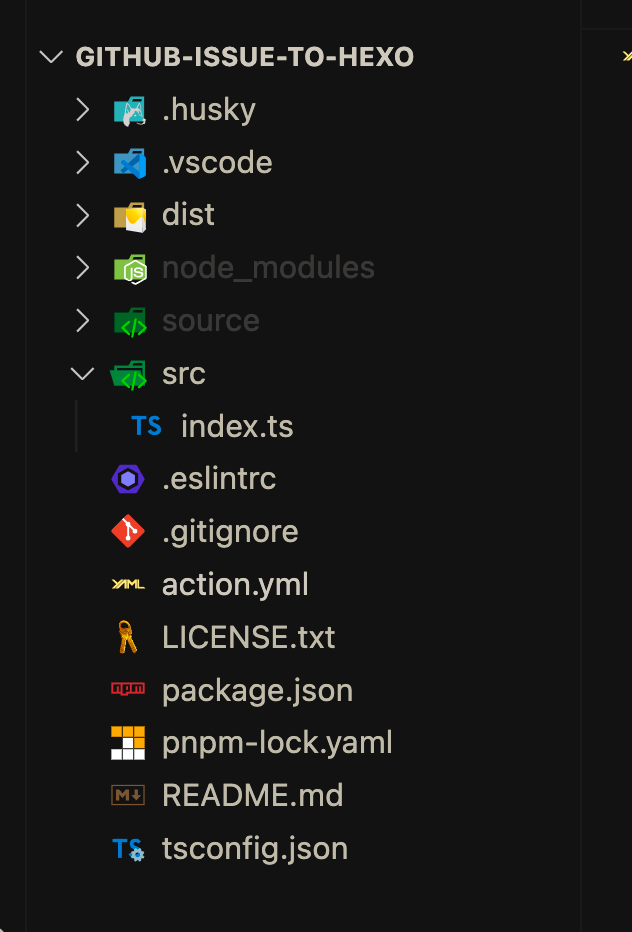
项目基本结构
使用TypeScript进行开发,初始化相关配置后的基本的目录结构如下
action.yml
每一个Github action都需要配置一个action.yml配置文件,说明一些和该action有关的信息。这里我们新建的yml文件如下
1 | name: Github issus to Hexo action |
- 我们声明了3个入参,其中
issue_url是必选参数,output和replace是可选参数 - 通过
runs.using和runs.main声明了我们脚本文件的执行环境为node16、程序的入口为dist/index.js branding。action的图标和颜色,这个是必须的 不然是不能发布到marketplace
逻辑开发
这里我们需要对入参进行读取,这里使用官方提供的@action/core包
- 参数读取通过
1
pnpm add @action/core
core.getInput即可对action的入参进行读取了
1 | import * as core from '@action/core' |
- 生成hexo文件
这里使用我之前开发的csdnsynchexocsdnsynchexo是一款支持 csdn/博客园/掘金/segmentfault/腾讯云加社区/github 等平台一键迁移 hexo的工具,支持命令行调用和api调用
- 完整代码
完整仓库详见
1 | import * as core from '@action/core' |
这样,我们的action执行完后,就会将hexo的文章产物输出来,后面的工作流就可以使用文章产物进行下一步操作。我们就完成了这个action的逻辑开发了
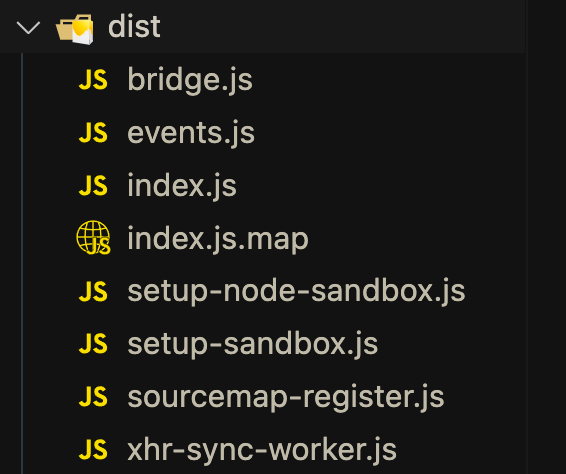
打包
由于Github action是不会去安装我们的依赖node_modules。这里需要使用ncc去打包源码和依赖
ncc是一个用于将 Node.js 模块及其所有依赖项编译到单个文件中的cli。并自带TypeScript支持
1 | pnpm add -D @vercel/ncc |
新增一个build命令用于打包 "build": "rm -rf dist && ncc build src/index.ts -o dist -s",
这样我们将代码打包输出到dist/index.js中去
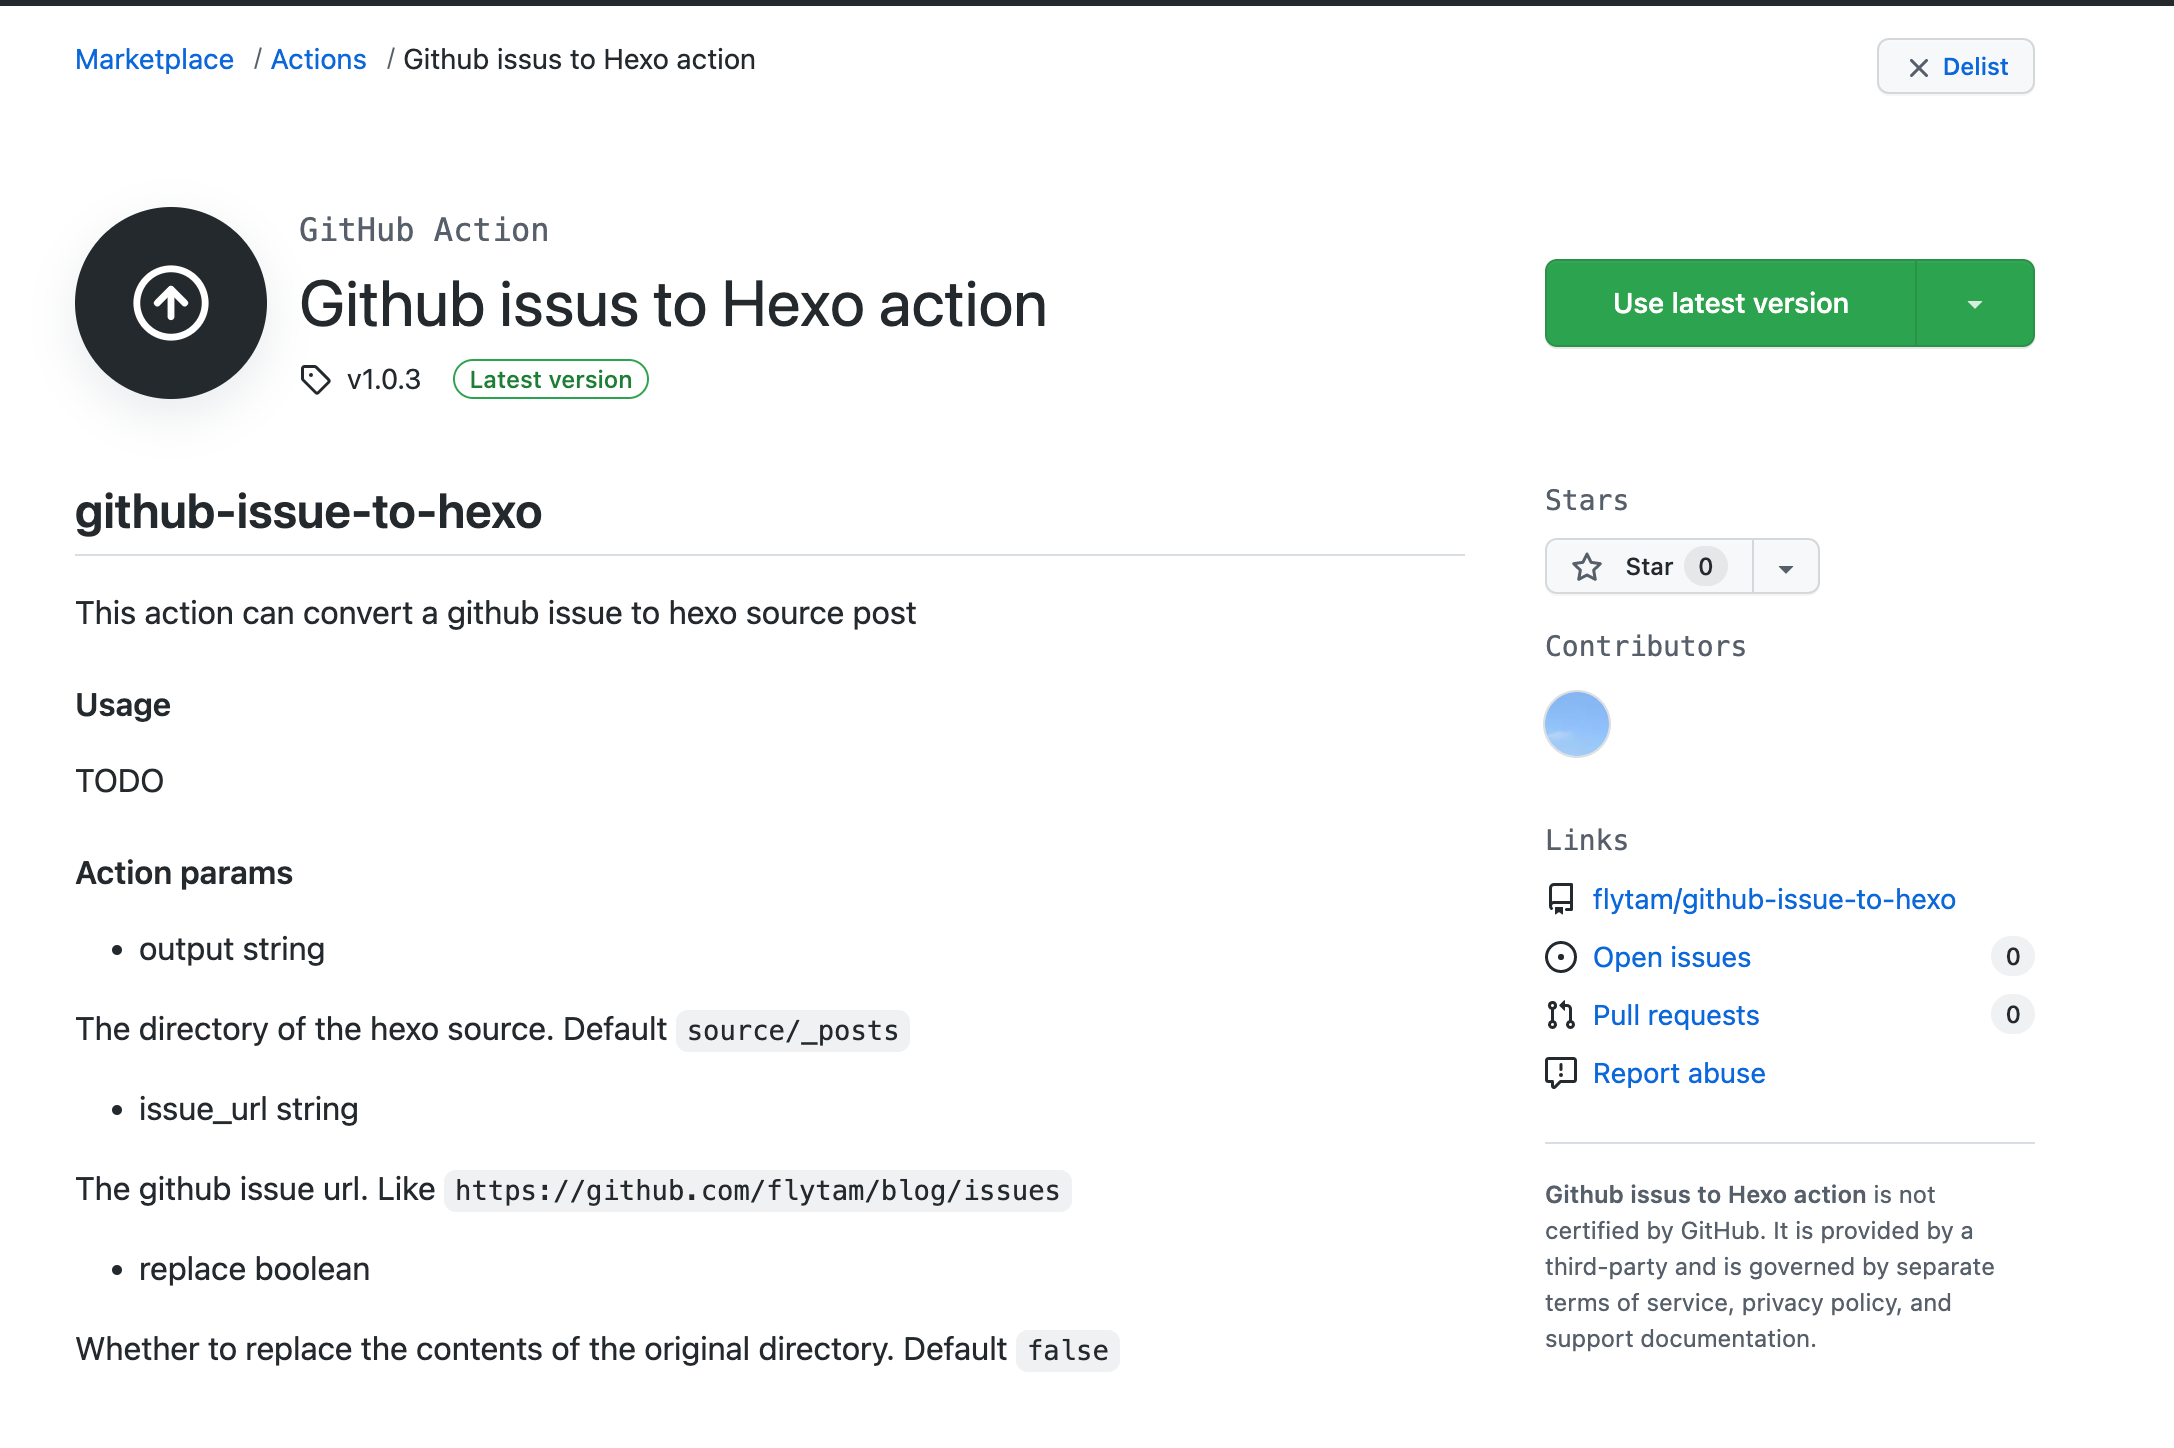
发布到Github action市场
- 打tag推送到仓库
- release中选择tag进行发布

- 然后就能在marketplace中搜到我们的action了
打造Github Issue写博客并自动部署hexo到Github Page的工作流
这里我们使用两个仓库。仓库名字按实际情况修改即可
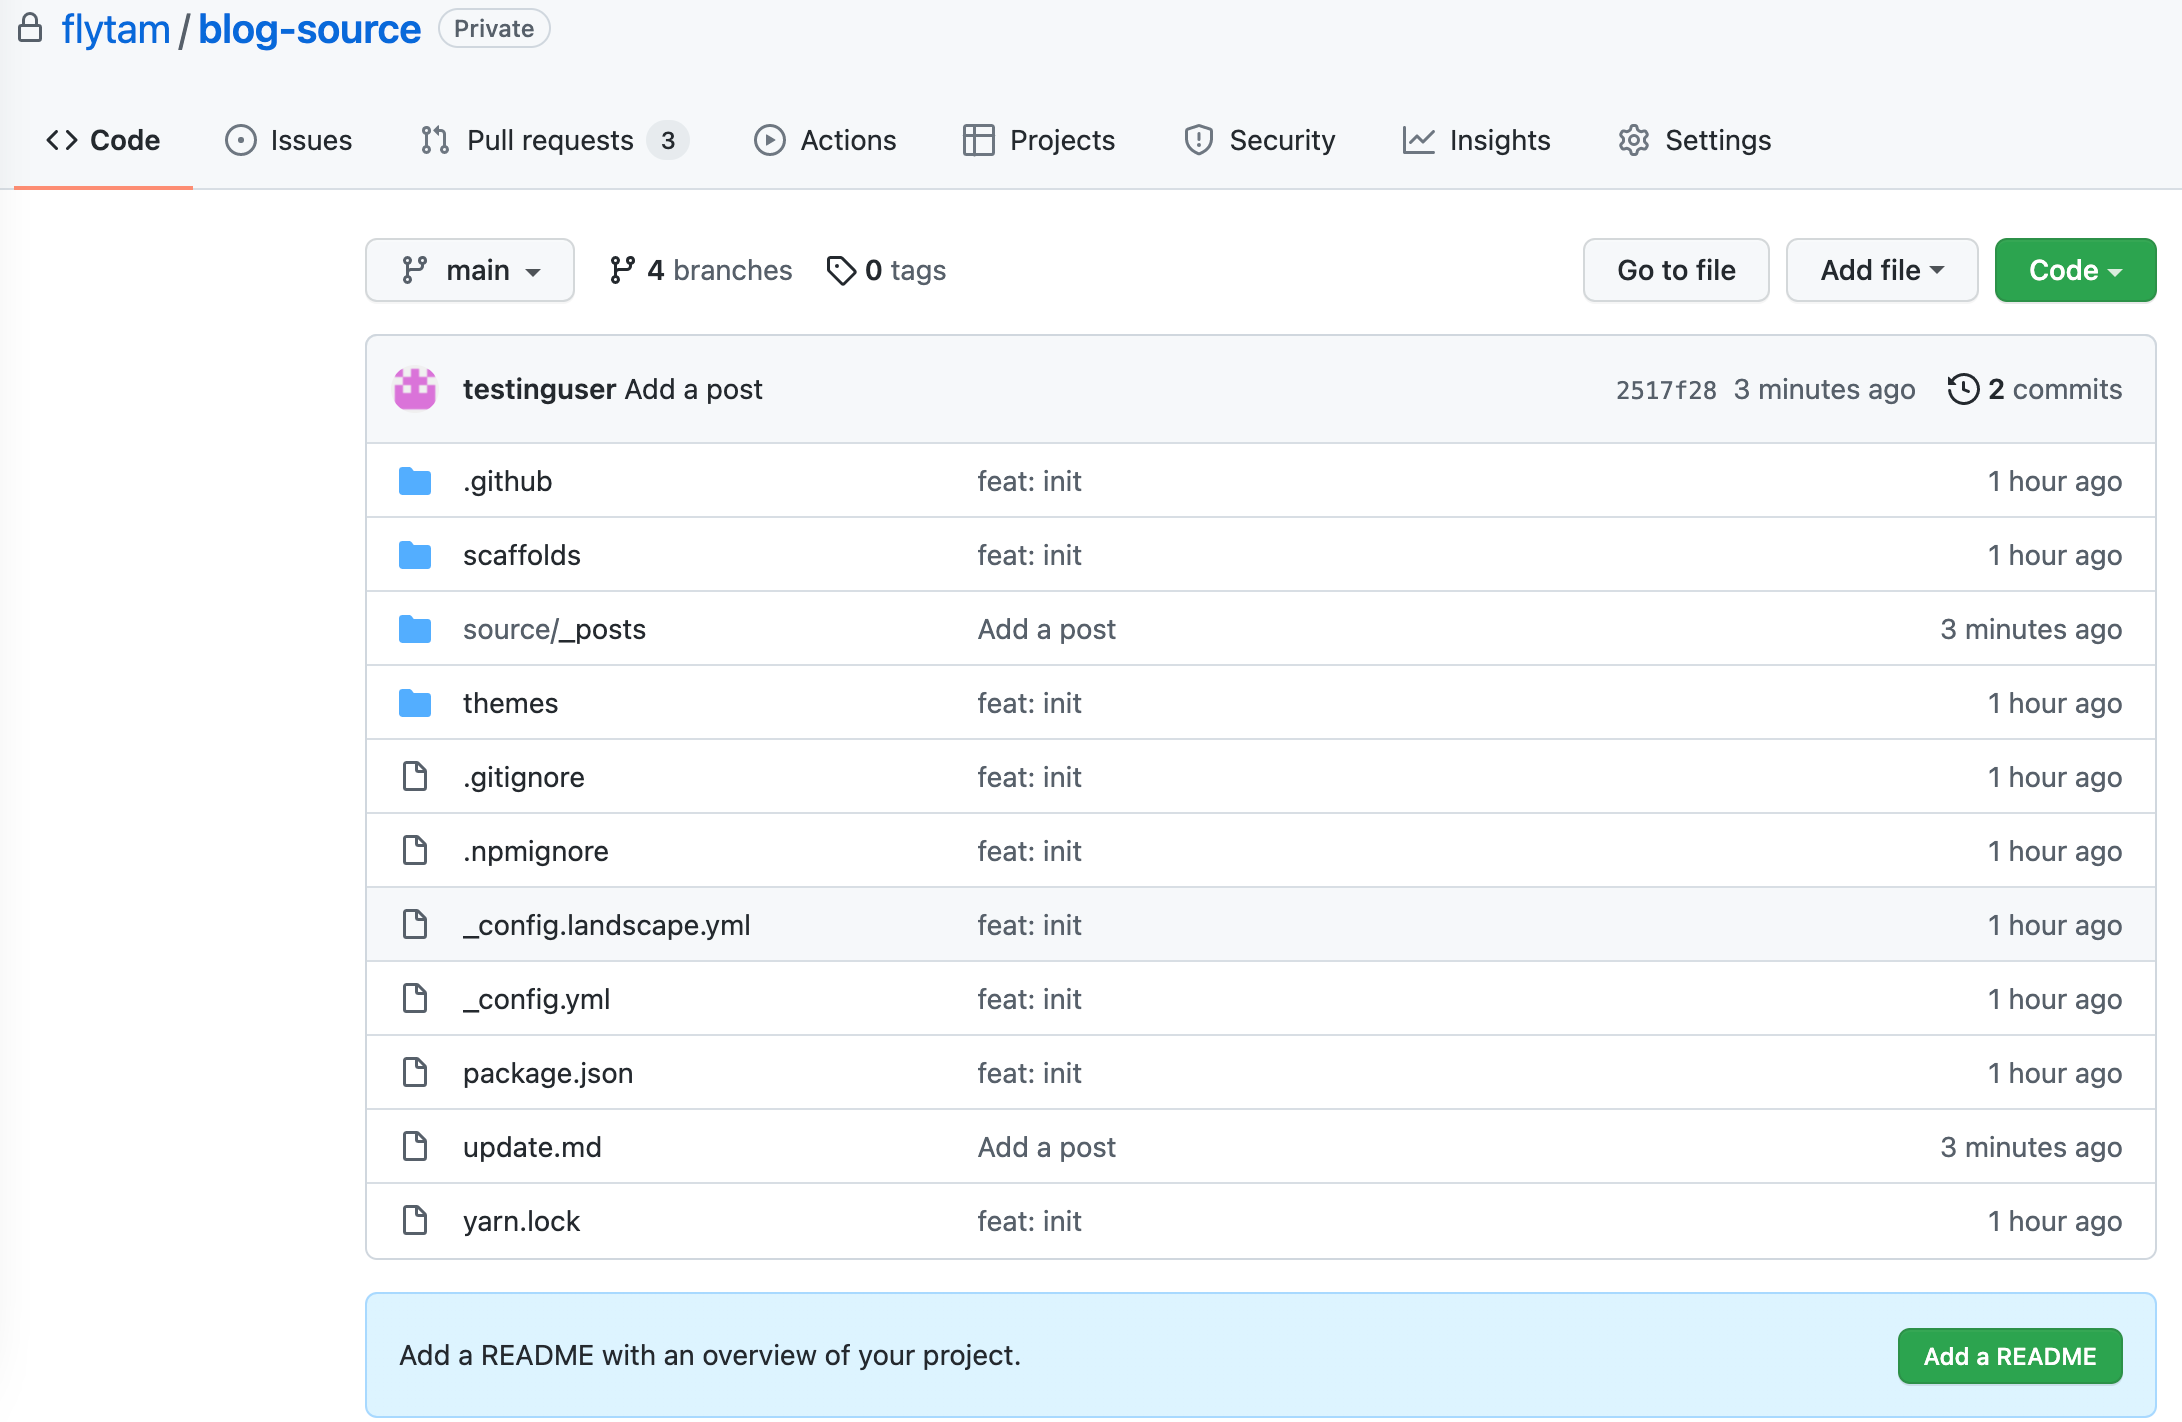
- 私有仓库
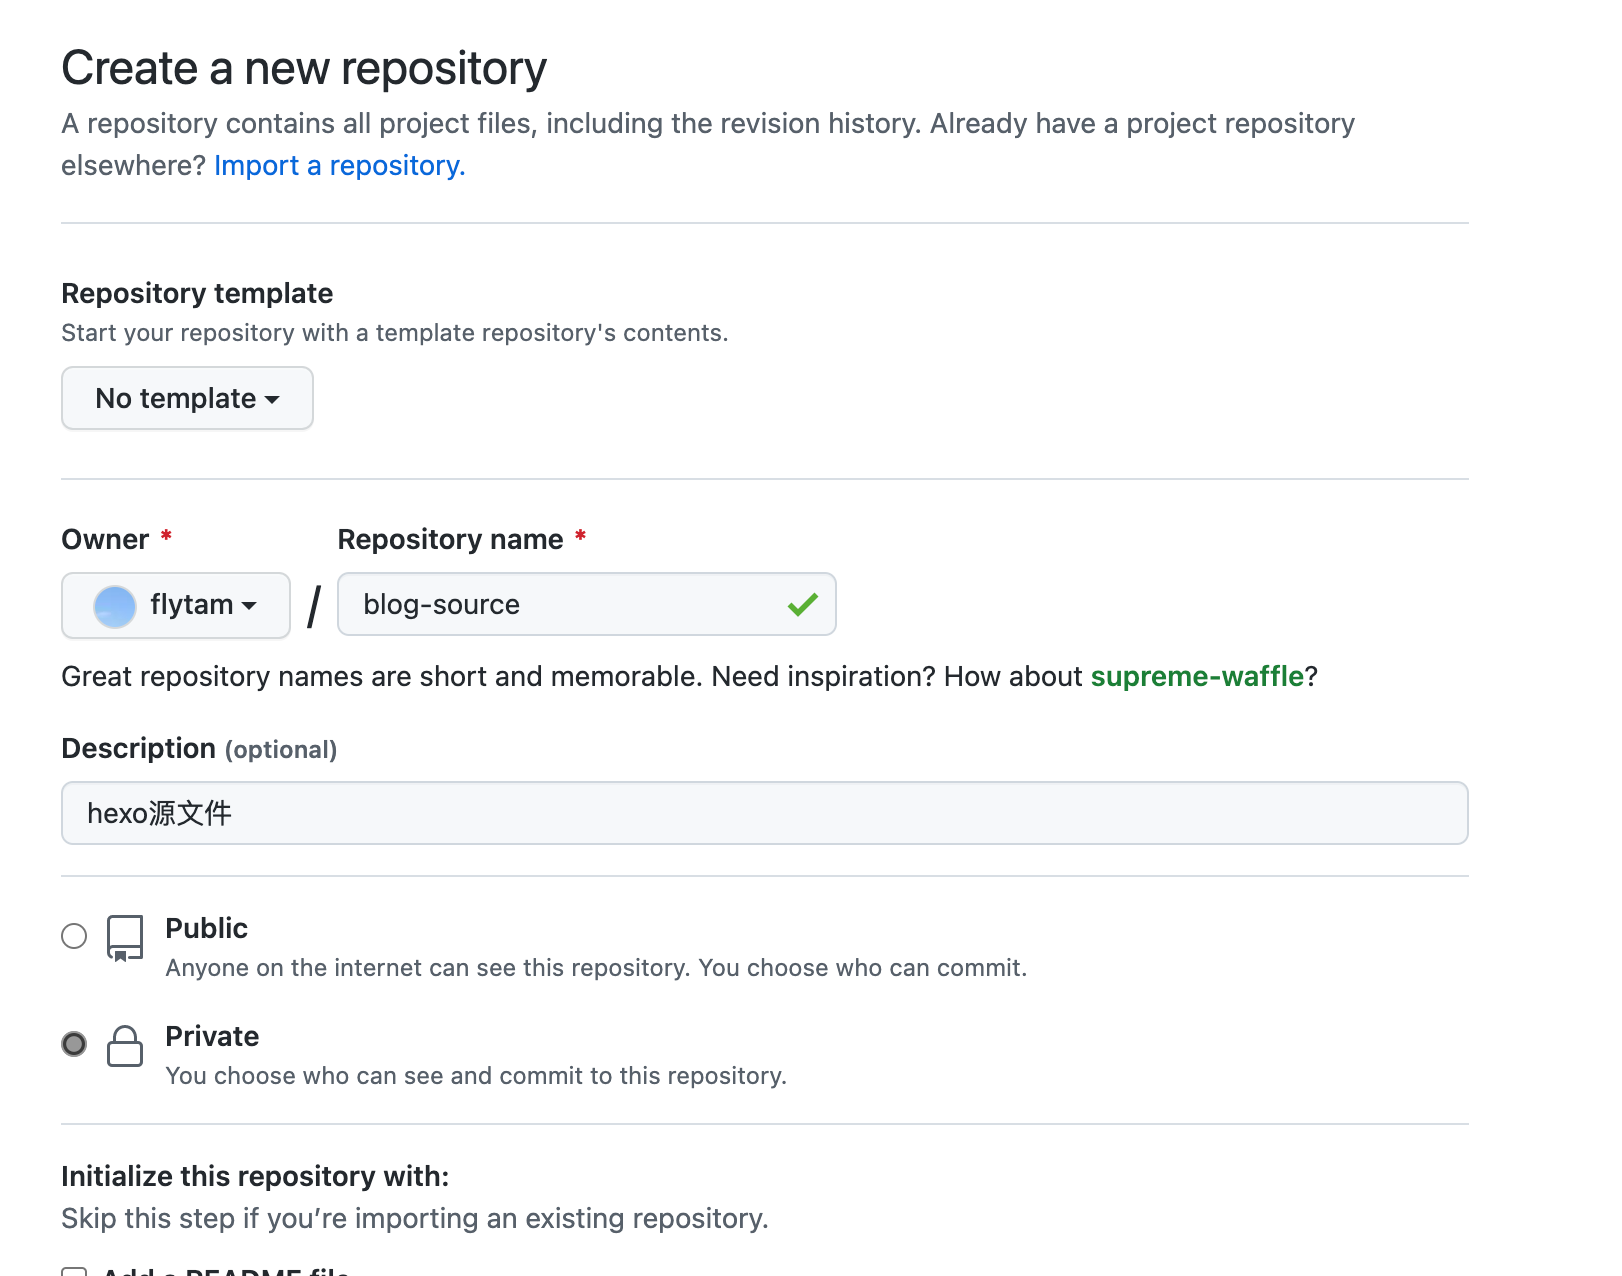
flytam/blog-source用于存放hexo源文件- 公开仓库
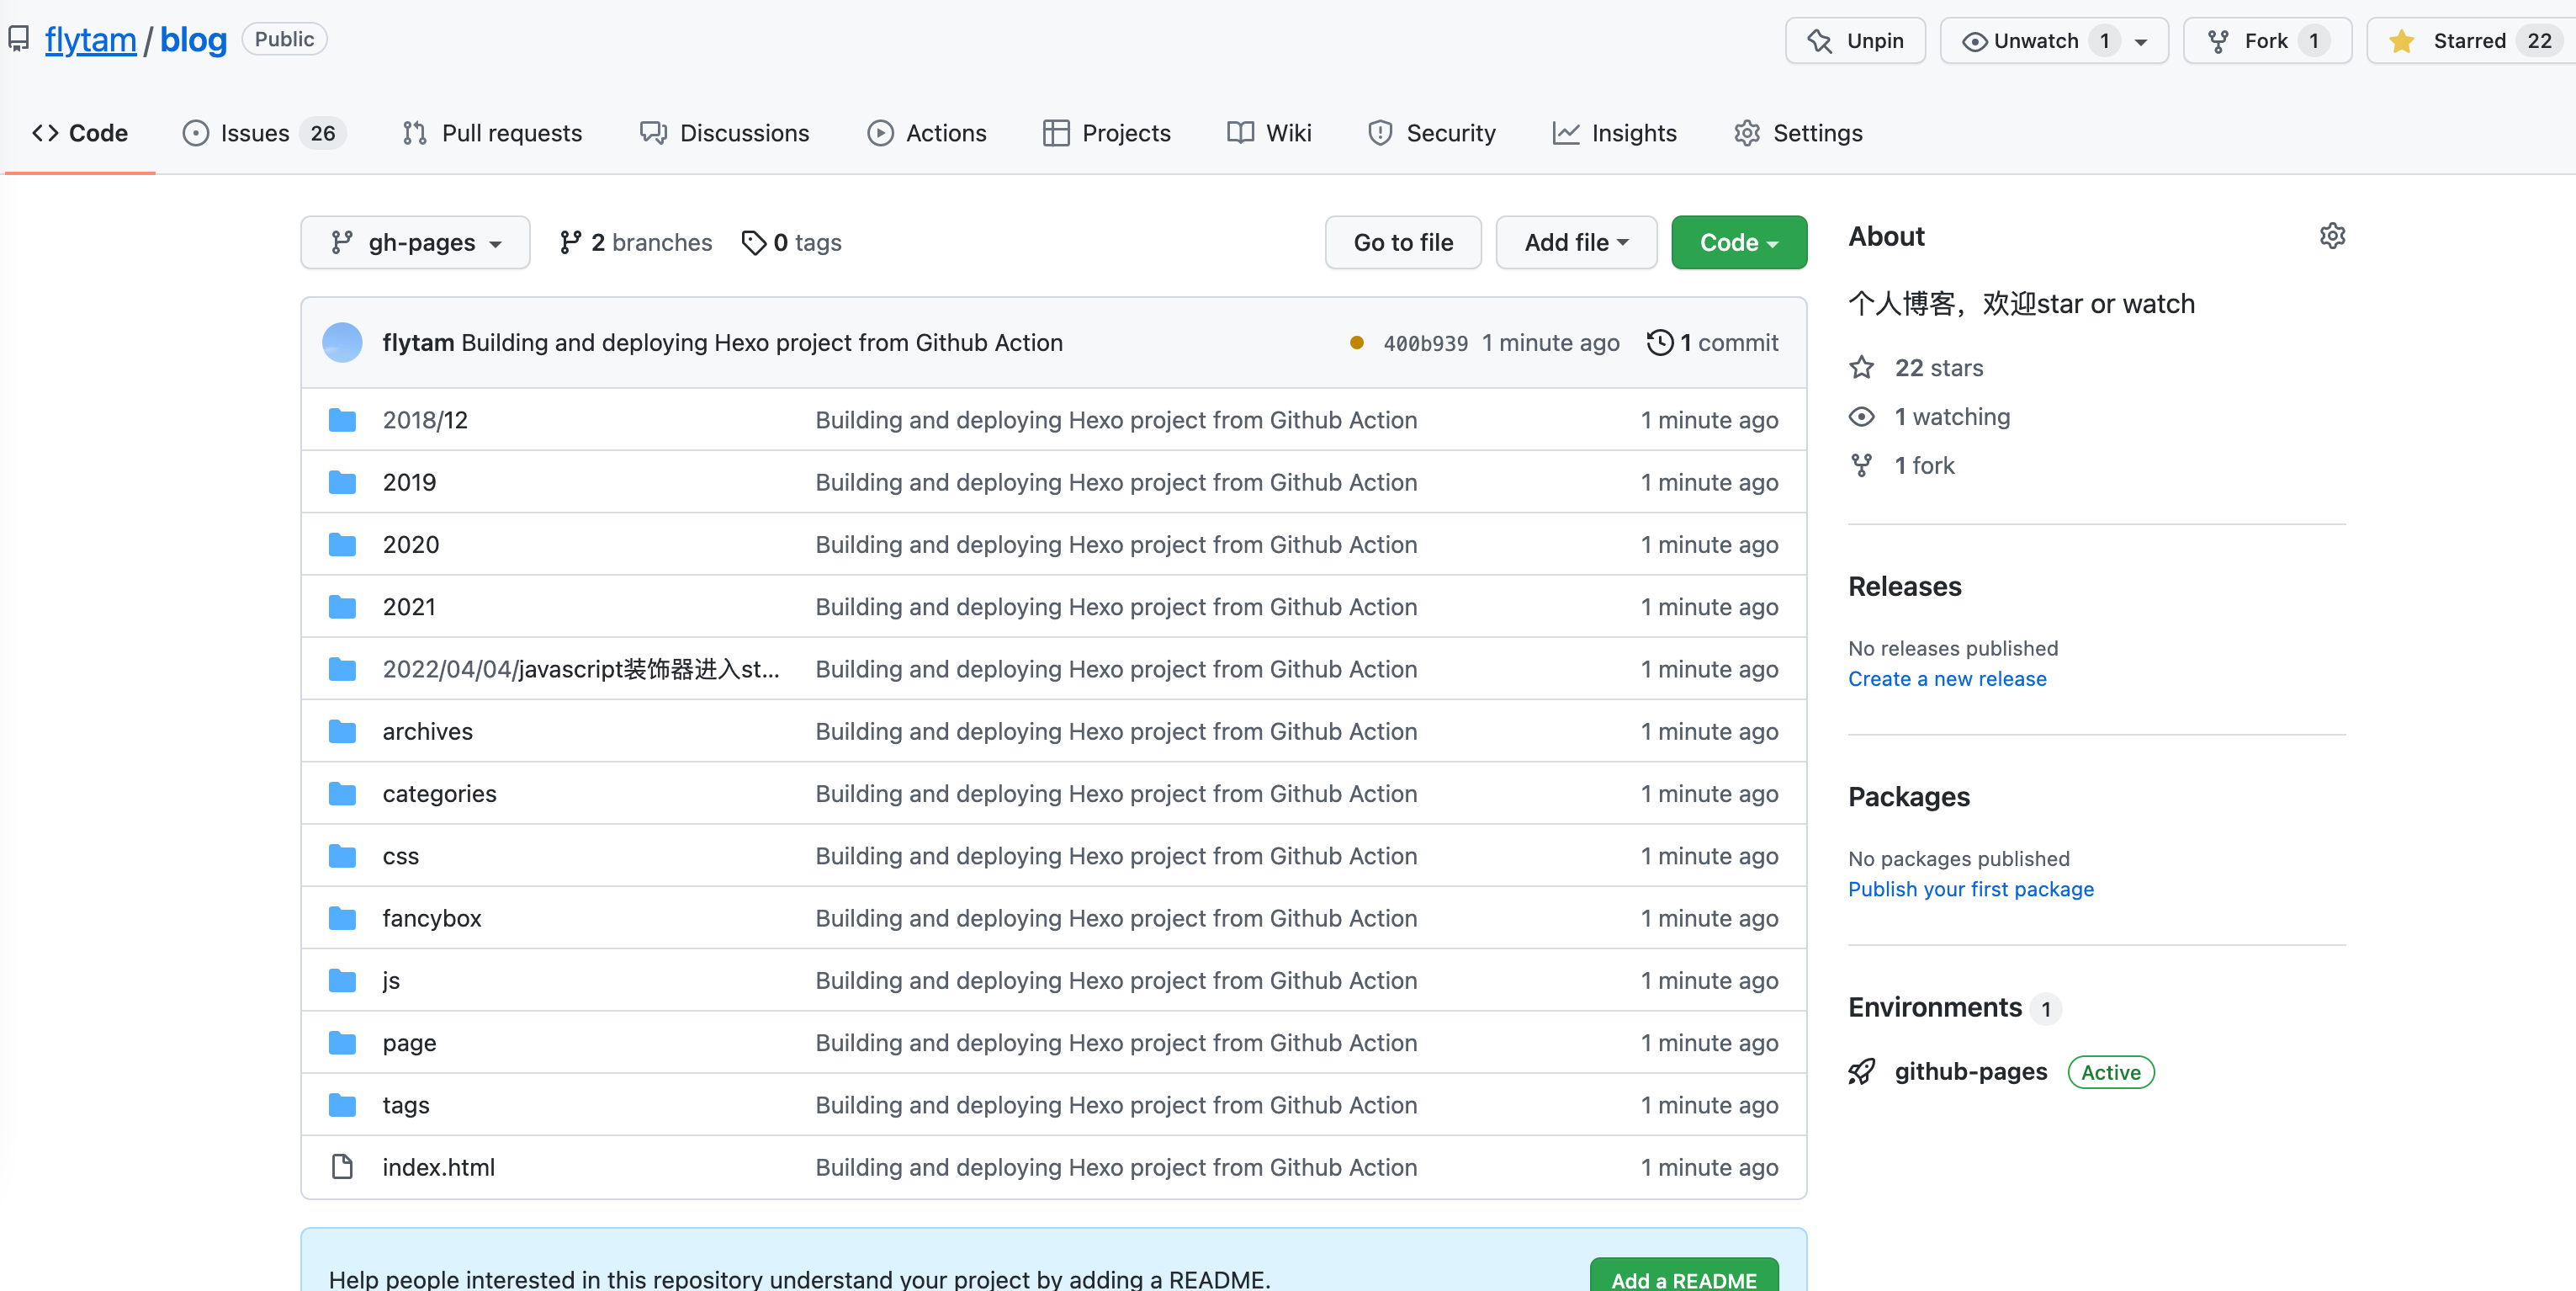
flytam/blog。issue负责编写博客,gh-pages分支用于存放hexo输出的页面产物并部署在user.github.io/blog上
blog-source仓库配置
如果此前已经有现成的hexo源仓库可以跳过这一步
- Github新建
blog-source仓库并设置为私有仓库(当然设置为公开也可以)
2. 本地初始化hexo源仓库
1 | npx hexo-cli init blog-source |
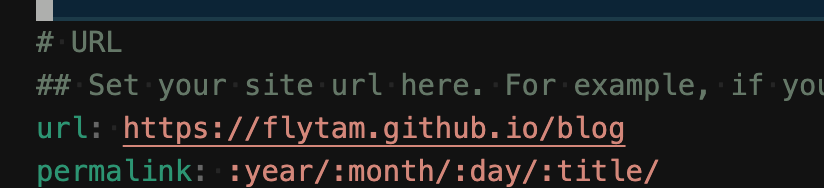
- 修改hexo配置文件
由于我们的仓库后面需要部署的路径是https://flytam.github.io/blog。因此需要将_config.yml的url修改成我们部署的路径
- 提交源仓库
1
2
3
4
5
6
7git init
echo "node_modules/" >> .gitignore
git add .
git commit -m "feat: init"
git remote add origin git@github.com:flytam/blog-source.git
git branch -M main
git push -u origin main
blog仓库配置
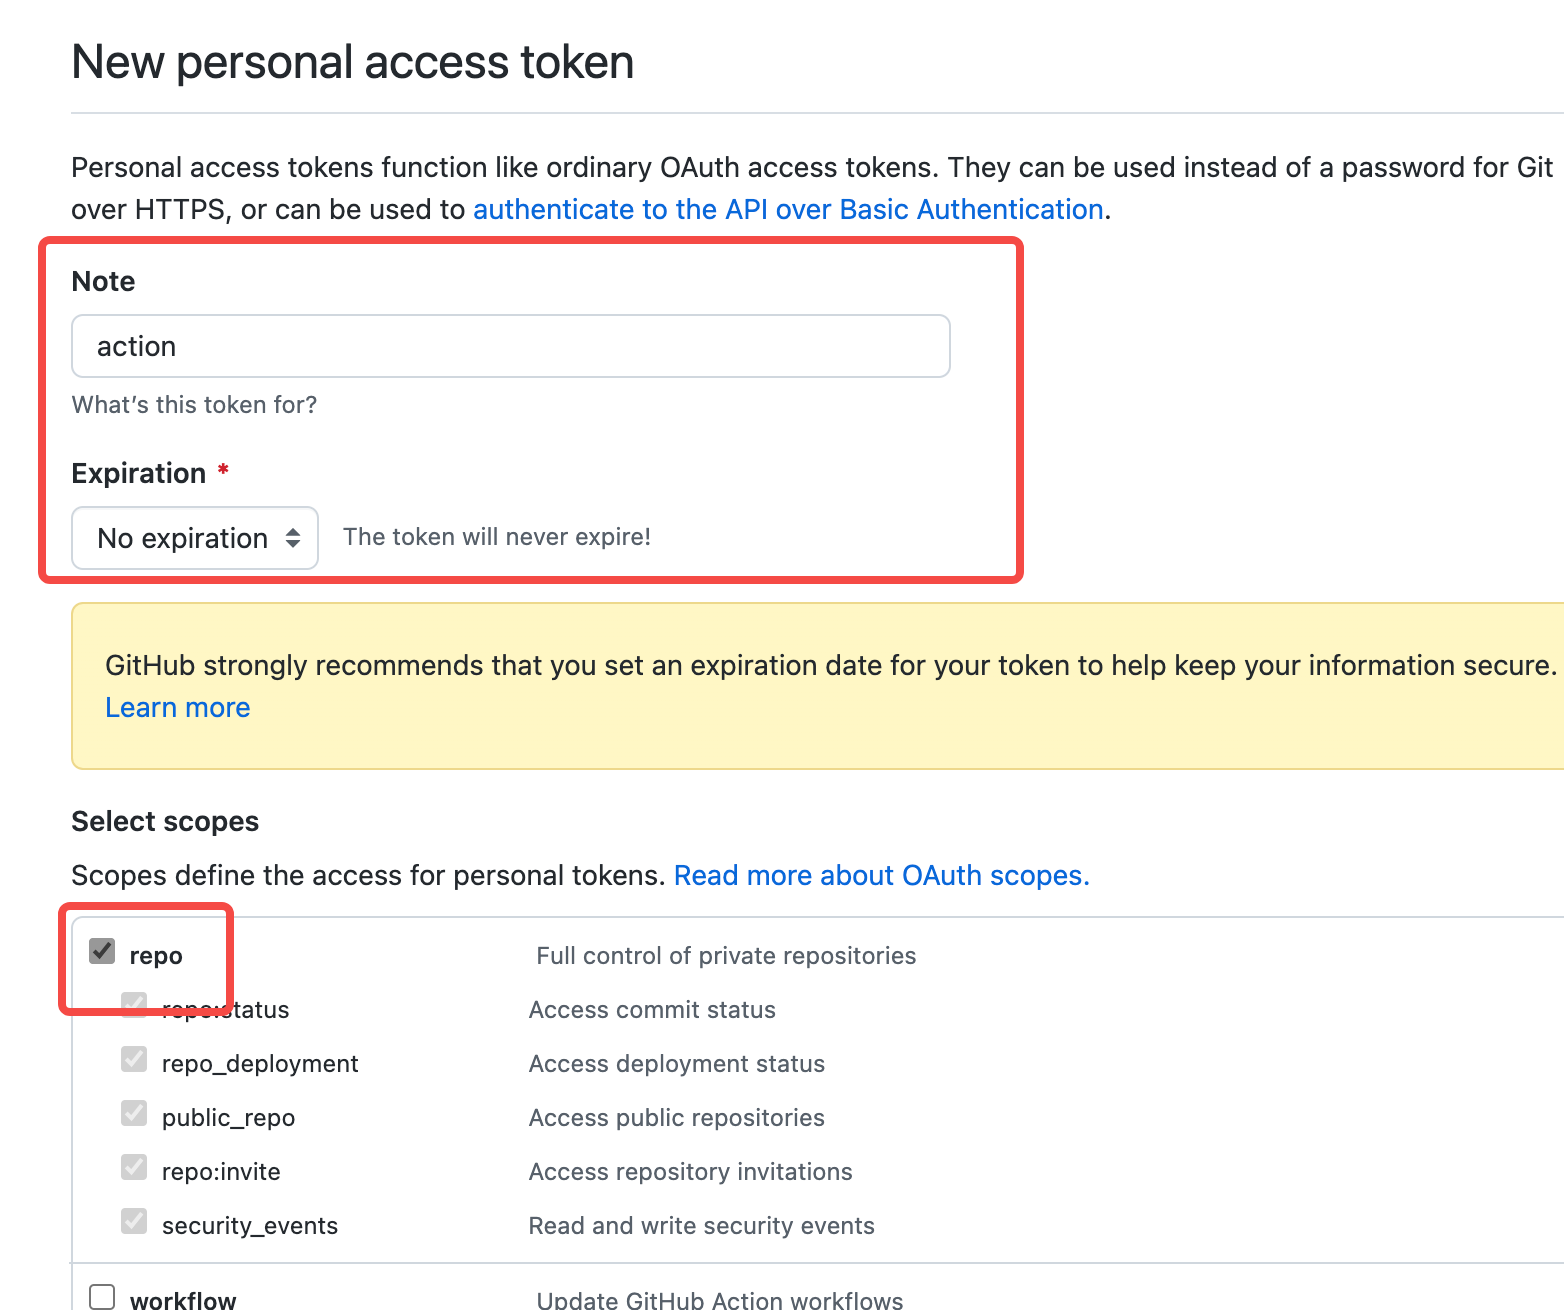
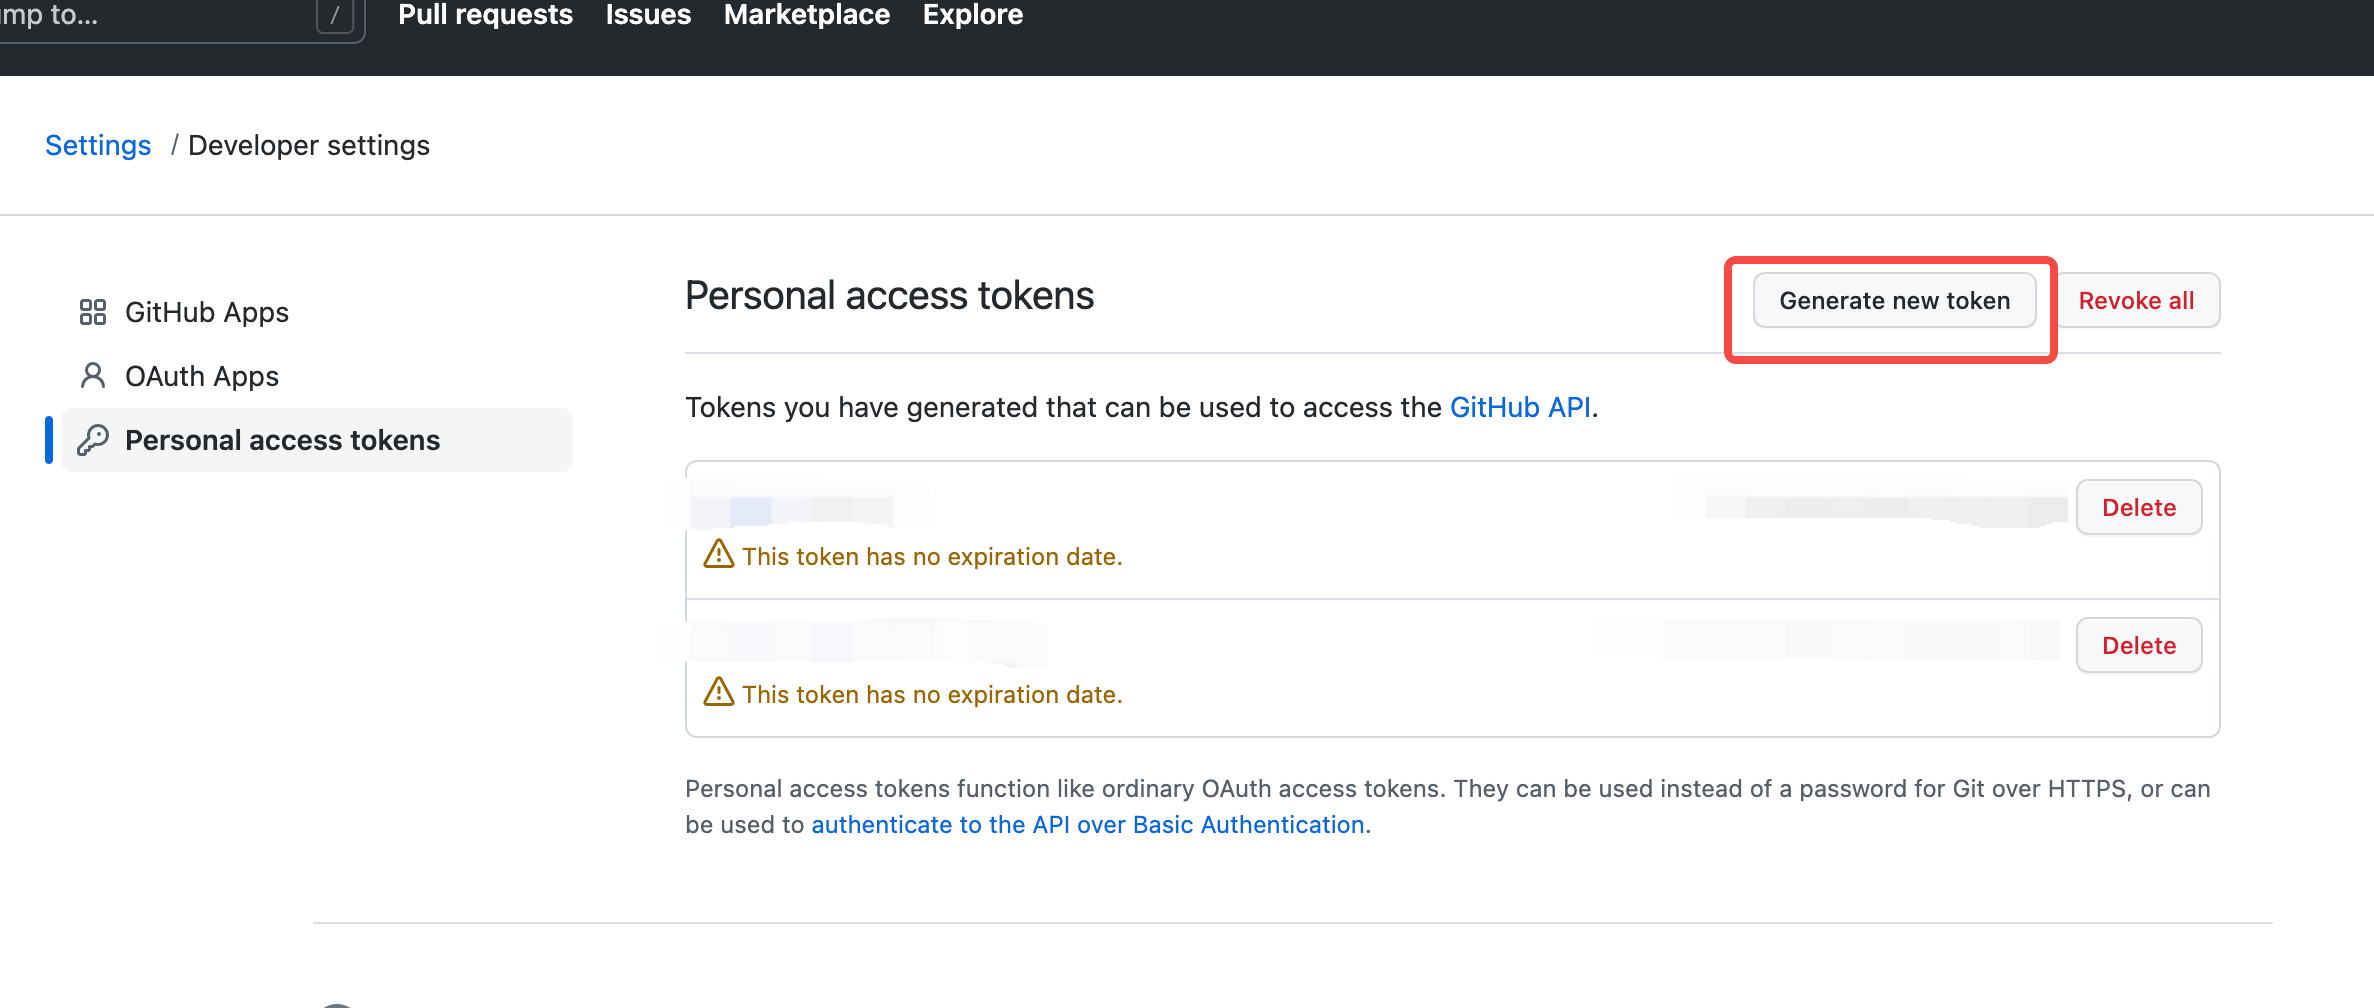
- 生成
personal access token
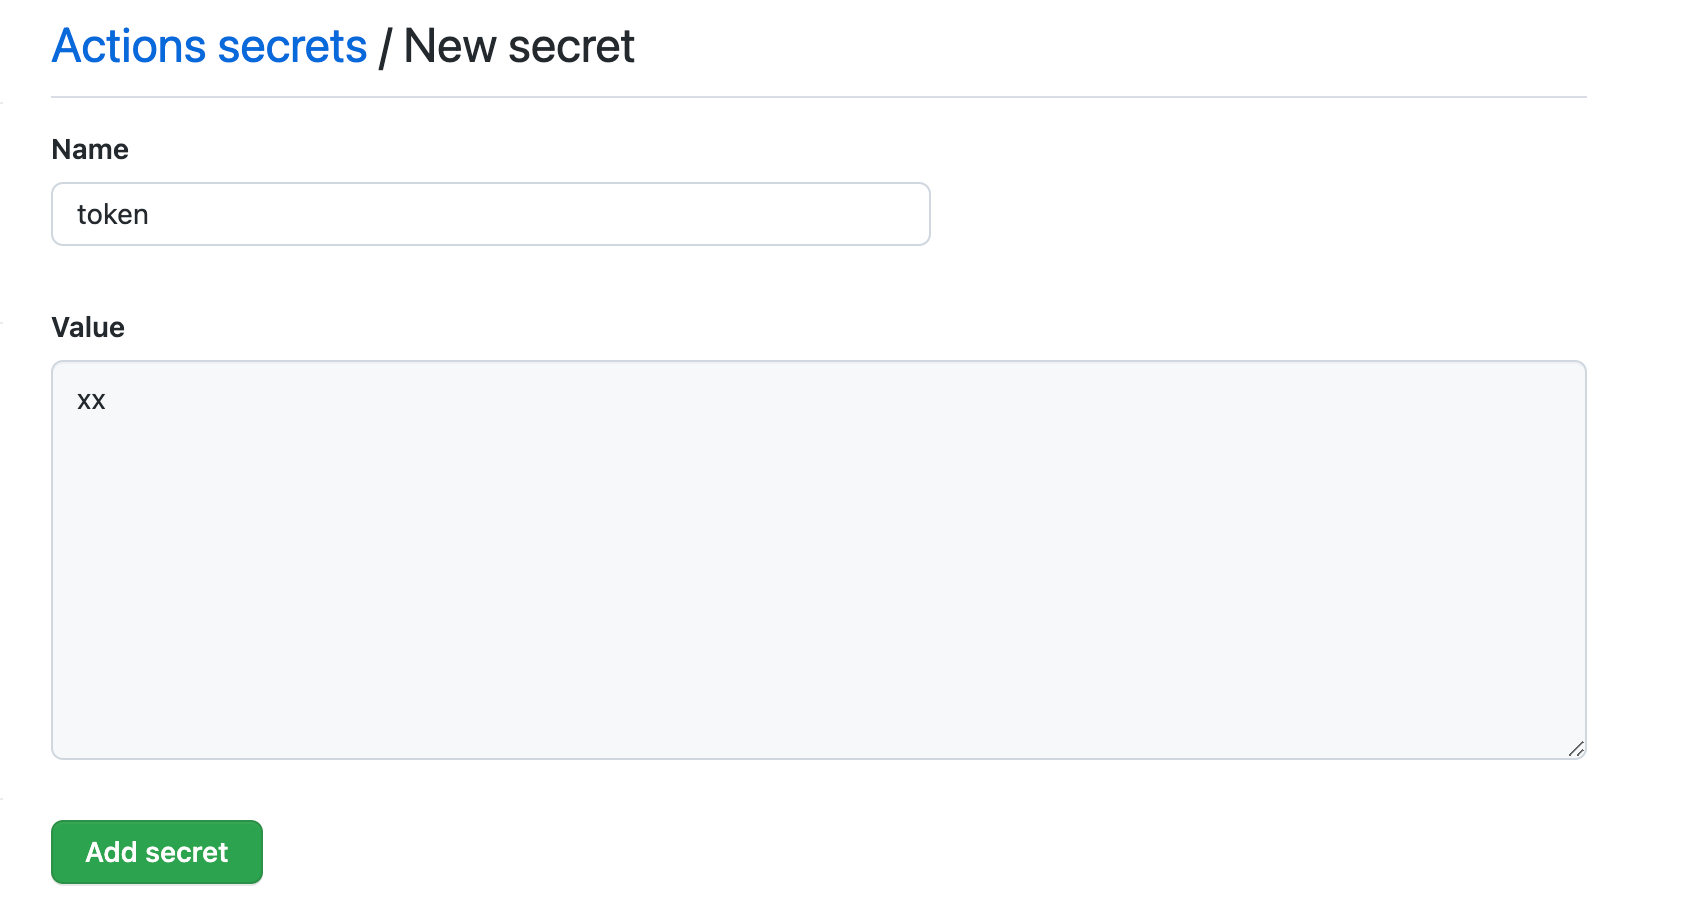
在Token页面中,点击New personal access token,输入名字和有效期并选择Scope->repo勾选,并复制生成的token
到blog和blog-source仓库下,分别Settings->New repository secret -> 输入对应的name和value粘贴token并保存 。这个token用于后续action对仓库进行拉取和推送操作
- 编写
workflow
我们会用到如下action
action/checkout@v3。用于拉取git仓库ad-m/github-push-action@master。用于推送git仓库flytam/github-issue-to-hexo@v1.0.3。用于将github issue生成hexo文件,也就是上文我们开发的actiontheme-keep/hexo-deploy-github-pages-action@master。用于部署hexo到gh-pages
在blog仓库的根目录下新建.github/workflows/deploy.yml文件。填入以下内容
这个工作流的流程是:
- issue新增或者修改时触发工作流
- 拉取hexo源文件
- 将issue生成hexo源文件并输出到hexo源文件
blog-source仓库的文章目录下并提交到blog-source仓库
1 | name: 部署博客 |
然后配置blog的github page配置。Settings-> Page->Branch: gh-pages。将blog仓库的gh-pages分支作为Github Page进行发布

在blog-source仓库的根目录下新建.github/workflows/deploy.yml文件。填入以下内容
这个工作流的流程是:
blog-source仓库main分支有push操作时触发- 构建hexo静态页面并部署到公开仓库
blog的gh-pages分支
1 | name: 部署hexo静态页面 |
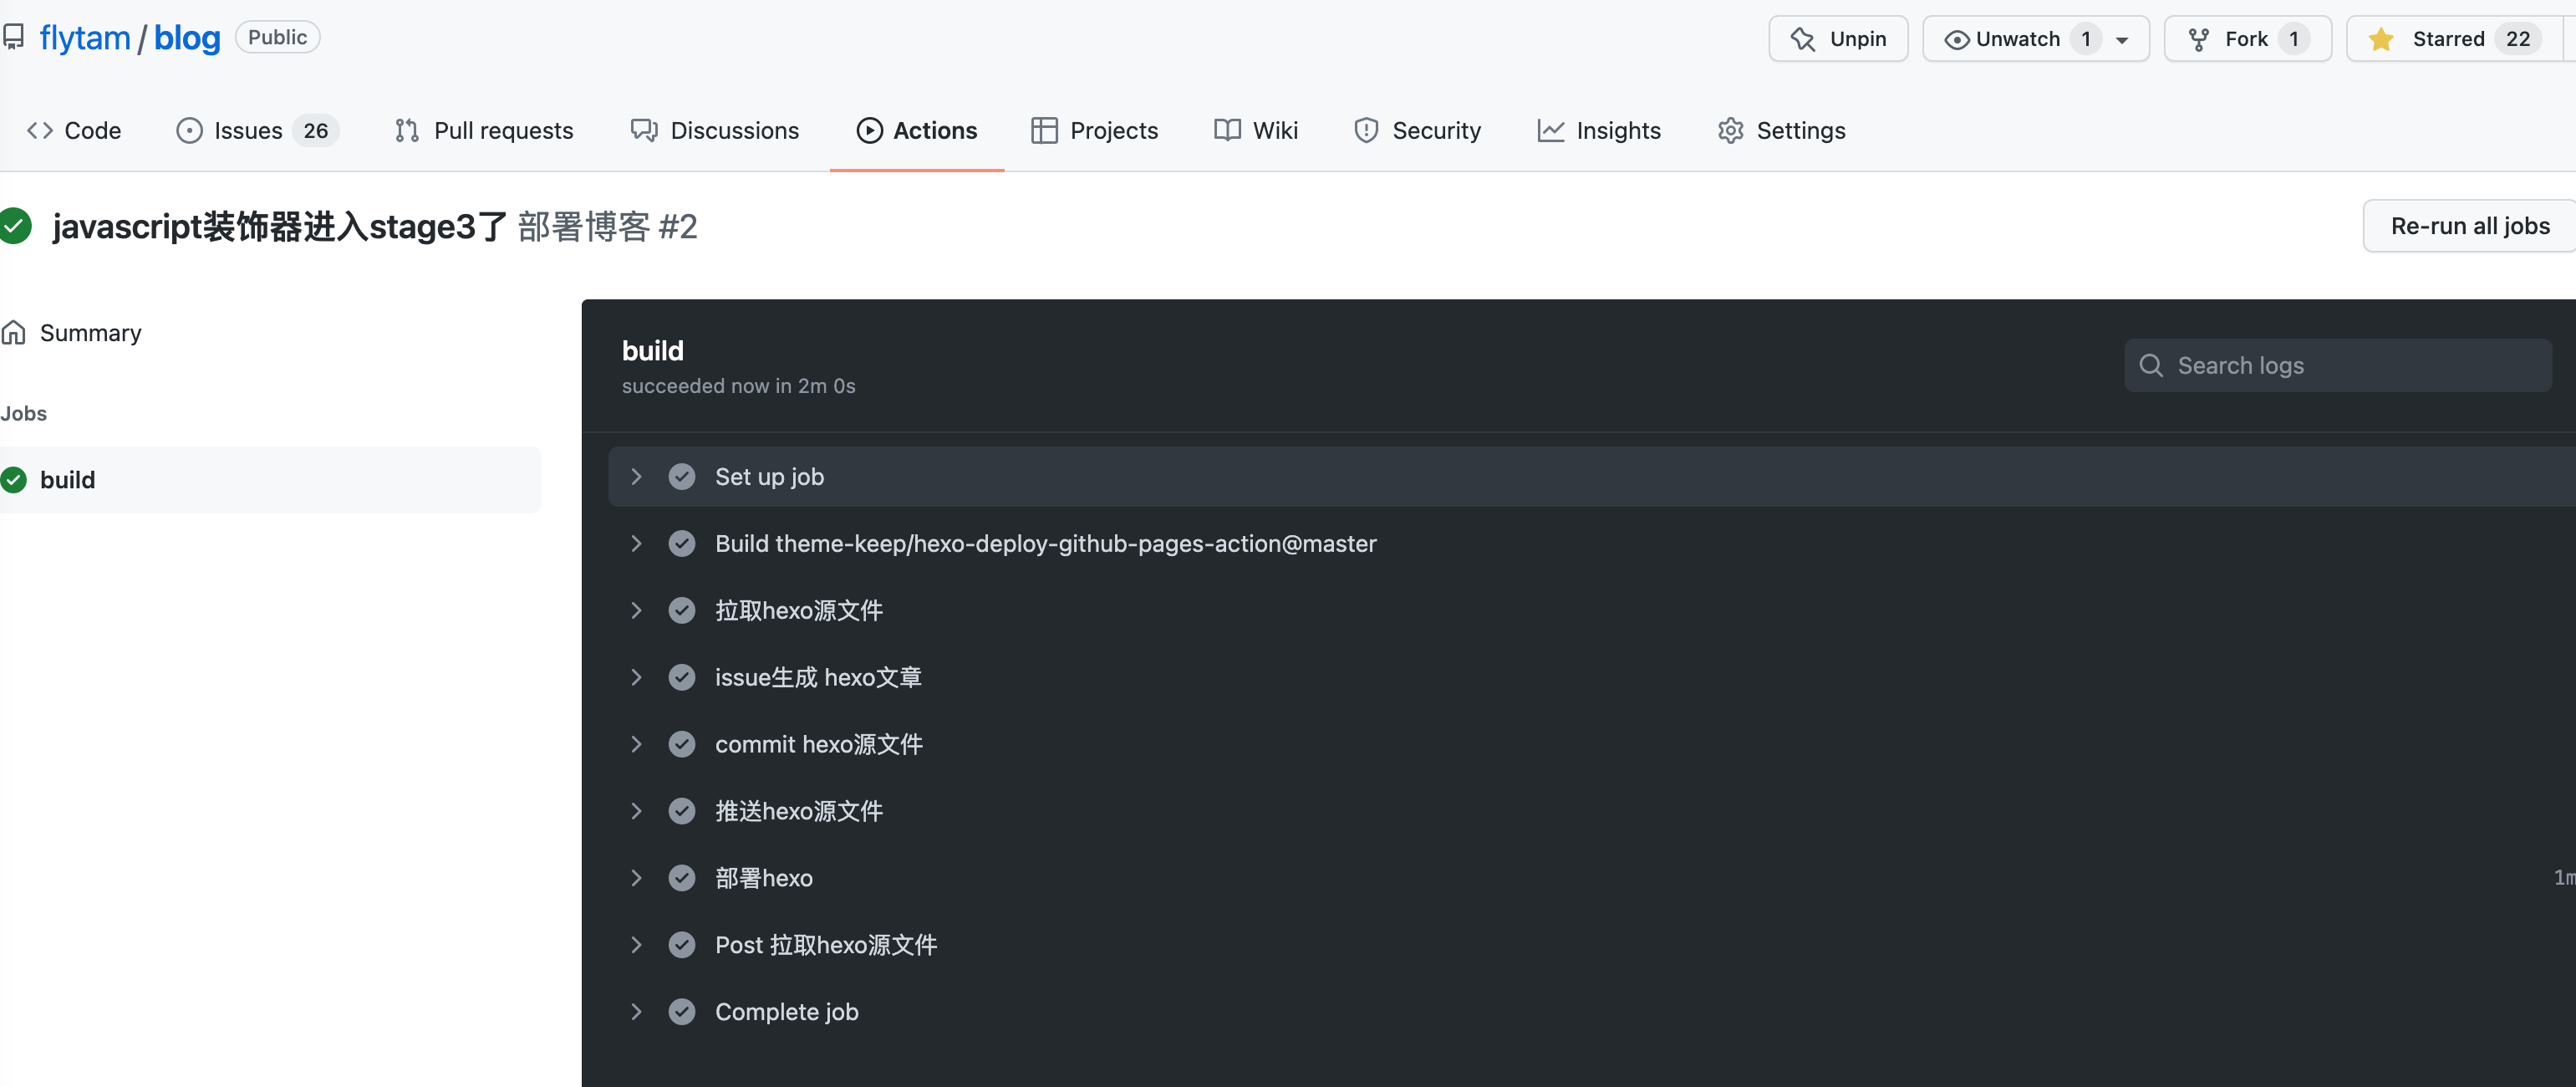
- 验证
我们修改blog下某个issue并提交,可见我们的部署已经成功了。hexo源文件更新+部署页面https://blog.flytam.vip/已更新。
如果遇到了某些图片有防盗链显示不出来,在hexo的header中添加 <meta name="referrer" content="no-referrer" />头即可
总结
到这里,我们就完成了整个自动化部署issue到hexo博客的流程并学习到了如何开发、使用Github action。如果你觉得本文不错的话,欢迎点赞、收藏、转发、关注

参考
How to Build Your First JavaScript GitHub Action
Building GitHub Action to publish Hexo post from GitHub Issue
- Post title:打造Github Issue到Hexo部署自动工作流
- Post author:flytam
- Create time:2022-04-10 16:32:37
- Post link:https://blog.flytam.vip/打造Github Issue到Hexo部署自动工作流.html
- Copyright Notice:All articles in this blog are licensed under BY-NC-SA unless stating additionally.